
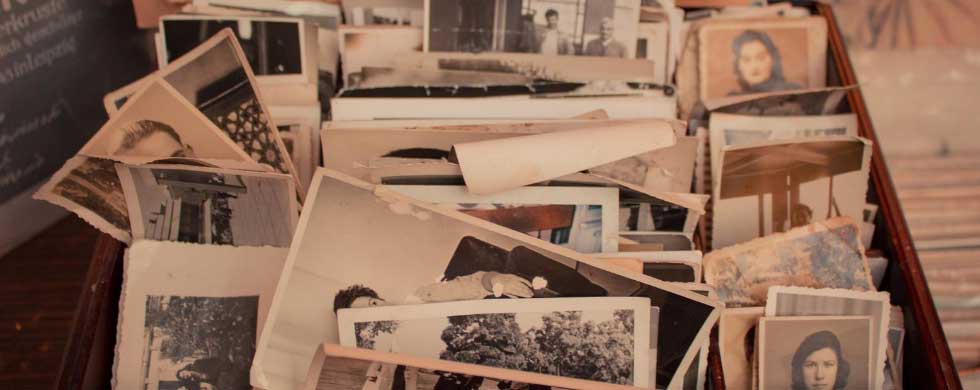
Photos are a great way to preserve memories and share your stories. From family trips to school plays, they tell a unique story that can be enjoyed for years to come. Unfortunately, it can be difficult to organize photos, especially if you have hundreds or even thousands of them stored on a computer or phone. Fortunately, there are steps you can take to get your photos in order.
Creating the Photo Book
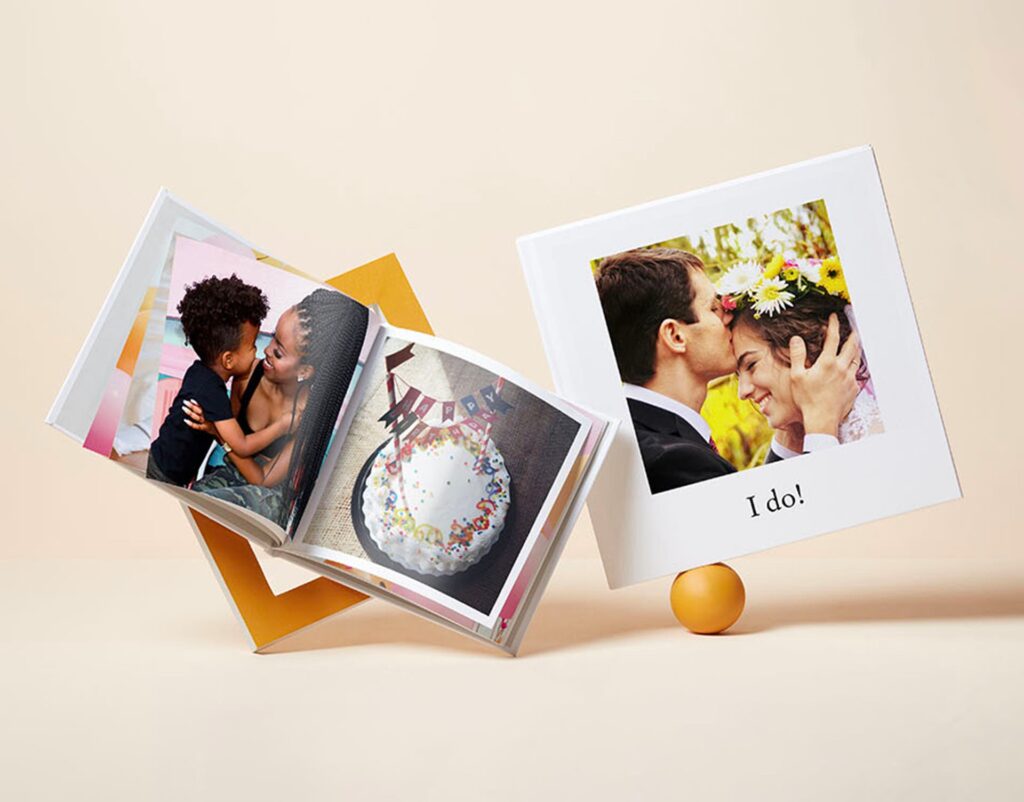
Start by gathering all of the pics you want to include in the book. If needed, you can back up each photo to your computer or another storage device before beginning the process. Then decide if you will be creating the book on your own with photobook software or with someone else’s help. Once you have gathered all of your material from which to work, it is time to figure out how many pages you need for the photobook and which pics will fit each page best. To do this, select a template for your book that has pre-existing layouts that are easy to use and customize once inserted into your project file.
Once everything is organized according to page layout, you can then begin adding text such as titles or captions near corresponding images if desired. Additionally, take some time to rearrange objects on particular pages if they don’t look correct at first glimpse. Finally, when everything looks perfect just add any finishing touches like special backgrounds or unique fonts! Your photobook should now be ready for printing – so don’t forget to check for any last-minute changes or typos before clicking submit!
Tips for Organizing Photos
- Decide on the goal of your document. Are you creating a book featuring family members or are you aiming to capture the beauty and history of something more general? This will help guide your selection and organization process.
- Take note of important dates, locations, or other captions needed for each photo so that when it comes time to arrange them in album format, all necessary information is included and correct order is maintained—this ensures accuracy in recording events and memories as they occurred over time.
- If needed, enhance any photos with software so they appear as remarkable as possible when printed into your final product—this could mean brightness adjustments or color corrections! Post-processing will help bring out details in images any beginner may not be able to achieve in camera settings alone!
- Test print a few images onto paper beforehand to make sure they look natural and vibrant (as opposed to grainy) on physical prints; this allows for corrections in post-processing techniques if needed before investing money in prints via photo books or wall hangings! If these pictures look good then chances are all others within the same batch should turn out similarly well too!
Conclusion
For many of us, our photographs are irreplaceable memories and moments in time. To preserve those memories and keep them safe, it’s important to store them properly and protect them against potential disasters. While there are digital methods that can save you time, a physical photo book is a great way to show off your photos and create something truly unique that can be enjoyed for years to come. Creating your own personalized photo book is an amazing way to share your incredible stories with the world — now that’s something worth investing some extra effort in!


