
Downgrade Big Sur to Catalina Without Losing Data: Easy Guide
Big Sur is the most significant macOS upgrade since the introduction of OS X. It boasts an overhauled design and features that enhance your Mac experience. But sometimes, when we install a new version, it may not run smoothly and deprive us of our favorite apps and features. Also, a bug or a system error could creep in during the installation.
Reverting to the previous version is the best solution in all of these cases. However, downgrading can cause big trouble – wiping your data. If you want to roll back to Catalina and protect your files, follow our bits of advice and tips on how to leave Big Sur while keeping your data safe.
Stay on the safe side and back up your Mac
Downgrading the macOS version will turn your drive into a clean slate. Before you start this process, you need to back it up and copy your essential files.
Have you backed up your data using Time Machine before upgrading to Big Sur? If so, it will be a lot easier for you to return to Catalina without putting your data at risk. Your old backup will roll your OS back to the same state before the update. You will have to copy the files you created on Big Sur afterward.
Be aware that reverting with Time Machine won’t work if you used it to backup while running Big Sur. Doing so will recover your Big Sur files. That’s why you need to choose and apply another method to store your files from this version, like an external hard drive or iCloud storage.
If your files are already tucked away in a safe place, you can continue without backing up Big Sur. But before you go backup-free, remember that Time Machine can back up your settings too. Is there a chance you will want to recover some of them in due course? Haven’t you forgotten about an essential app, losing data from which would be a disaster? Consider this if you are going to omit the backup step.
The simplest way to save your data: Time Machine
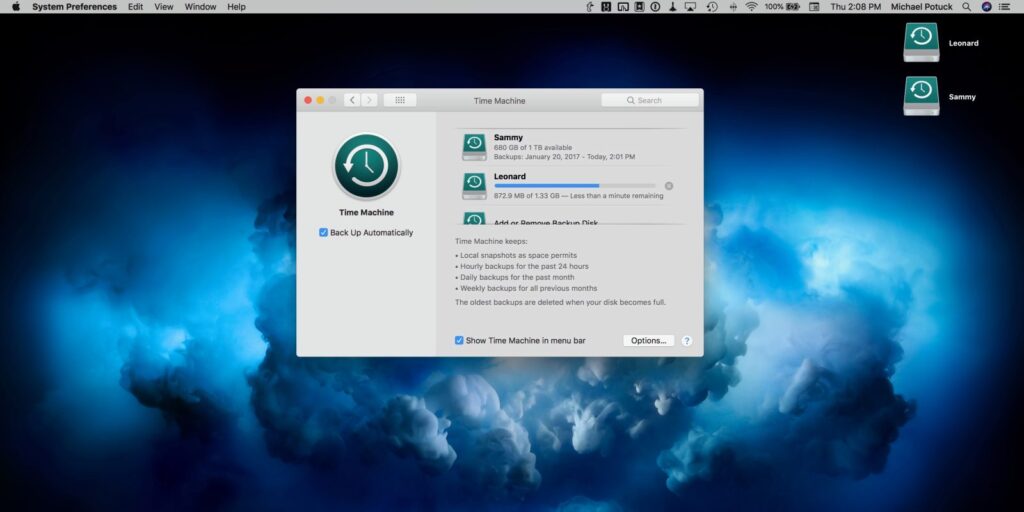
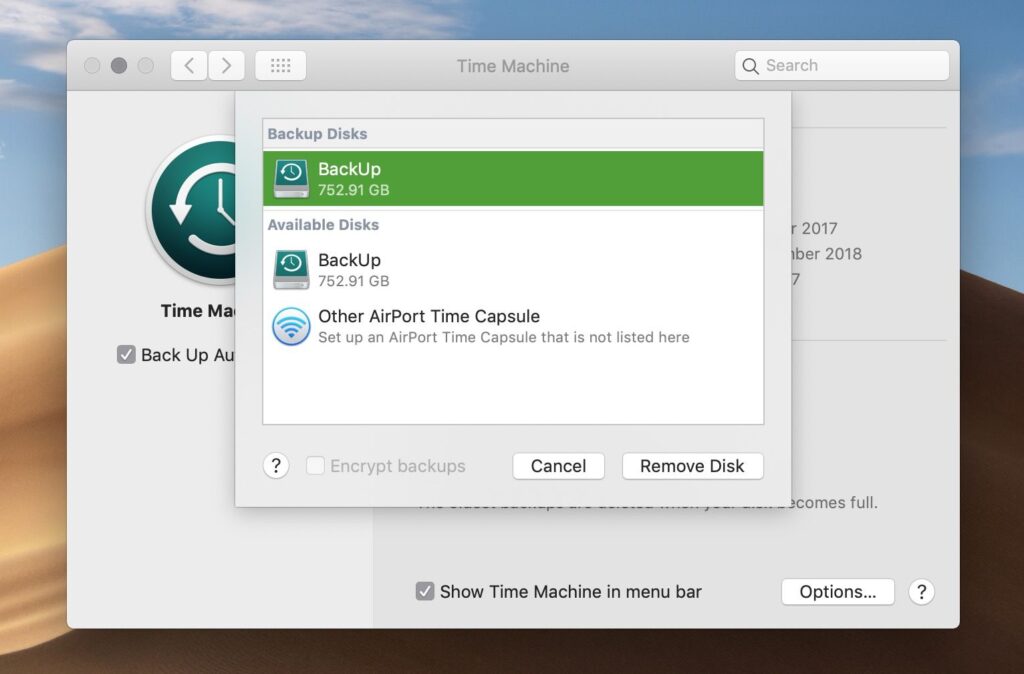
Going with Time Machine is the simplest way to step down to Catalina and save your files. To revert successfully, you need a complete clone of your disk from before Big Sur on an external disk or a TM compatible network drive.
Mind that restoring to Catalina will erase the files you’ve created or modified running Big Sur, including your songs, photos, and documents. It’s best to back them up to an external drive manually or transfer them to the Cloud from where you will be able to restore them.
Follow these steps to recover Catalina using Time Machine:
- Connect to the network.
- Plug in your Time Machine drive.
- Restart your Mac.
- Hold down Command + R. The Apple logo will appear.
- Select Restore From Time Machine Back Up and hit Continue.
- Select your backup disk from the list of available disks.
- On a list of all backups, find a version that you ran before installing Big Sur.
- After you restore Catalina, recover the files from your backup.
Time Machine will restore from the backup, and your device will restart afterward. This process can take a while, so you might as well forget about your device during this time.
But what if you don’t have a Time Machine backup? If that’s the case, don’t despair. You can step down to Catalina using other means. Here’s how to do that.
The final step: Install Catalina

You can install Catalina on your Mac after wiping Big Sur. It will erase your files if you don’t back them up properly. Unfortunately, it’s too late to use the Time Machine backup method at this point because it will restore the unwanted data from Big Sur.
As your first step, grab a Catalina installer from the Mac App Store in a few easy steps. After you download Catalina, do not rush to install it instantaneously. It will launch automatically, but you will need to cancel that action. It’s because you won’t be able to “write” Catalina over Big Sur – you need to wipe the current version first.
To reinstall Catalina, create a bootable installer on a spare external drive. That will be your portable copy of Catalina you can use for when you need to do installation again.
How to make a bootable copy of Catalina? It will take some prowess, but we will walk you through the process. First of all, make sure you are logged in to your Mac’s admin account. Then, follow these steps:
- Go to Finder in your Dock.
- Choose Applications.
- Find Utilities and double click.
- Locate Terminal and double click.
- Change the command text for the pathname to the name of your external drive. Make sure the name doesn’t contain spaces and is case sensitive.
- Type in “udo /Applications/Install\ macOS\ Catalina.app/Contents/Resources/createinstallmedia –volume /Volumes/MyVolume” into the Terminal.
- Press the enter/return key.
- Type in your administrator account password, one that you use to log in to your Mac.
- Enter Y to erase the drive and then press return.
- The process can be time-consuming. When it is complete, the Terminal window will show a message: “Install media now available…”
Now that you’ve created a bootable copy of Catalina, you can move on to installing this macOS version to your Mac. Below, you can find the steps to do it successfully.
- Connect to stable and fast Wi-Fi.
- Plug in the bootable installer.
- Open System Preferences by clicking Startup Disk.
- Select your external drive with a bootable installer.
- Click Restart, which will shut your Mac down and start Recovery.
- Open Utilities and choose Reinstall macOS.
- Confirm that you want to continue.
Congrats! You have successfully installed a clean version of Catalina on your Mac. Even if you skip the bootable copy step, the process still can take a long time. It’s recommended not to switch off your Mac and Wi-Fi connection because it can impede the process.
Hopefully, Apple developers will adjust our favorite apps to Big Sur soon enough, so we could fully enjoy it and had no reason to kick back to earlier macOS versions. Till then, you can stay with Catalina.
Also read: https://iboysoft.com/mac-data-recovery/how-to-downgrade-macos.html.


