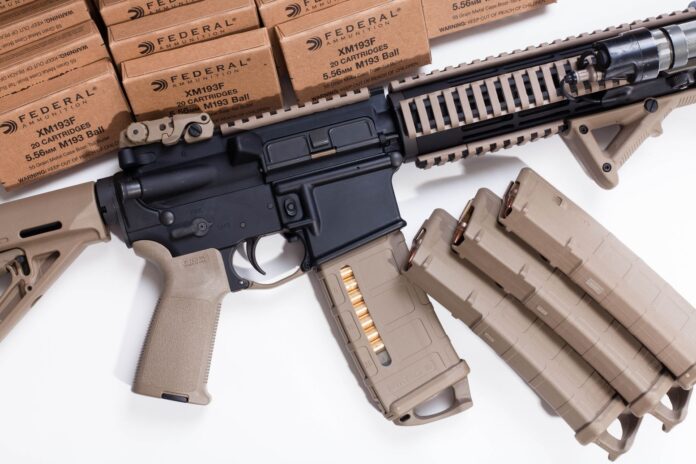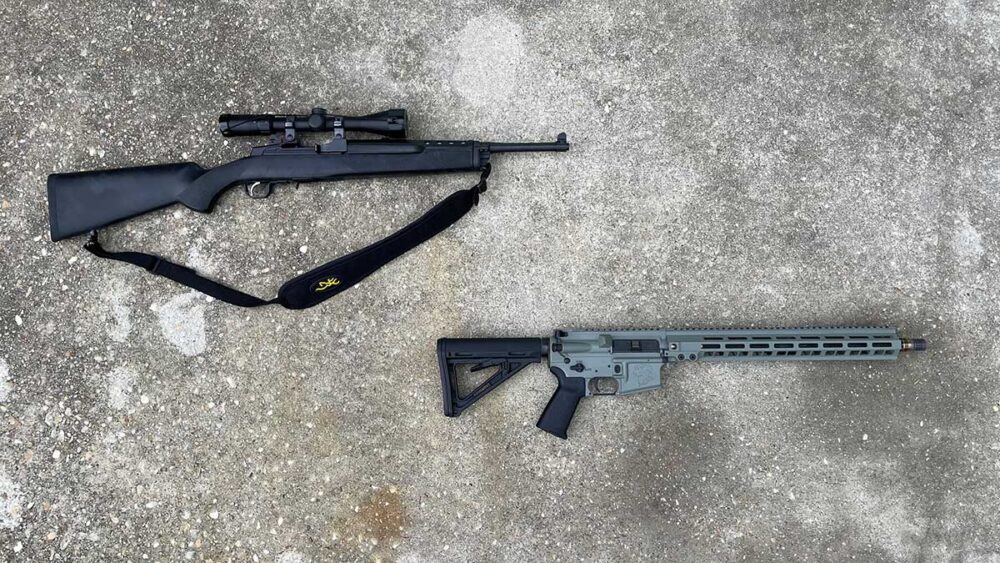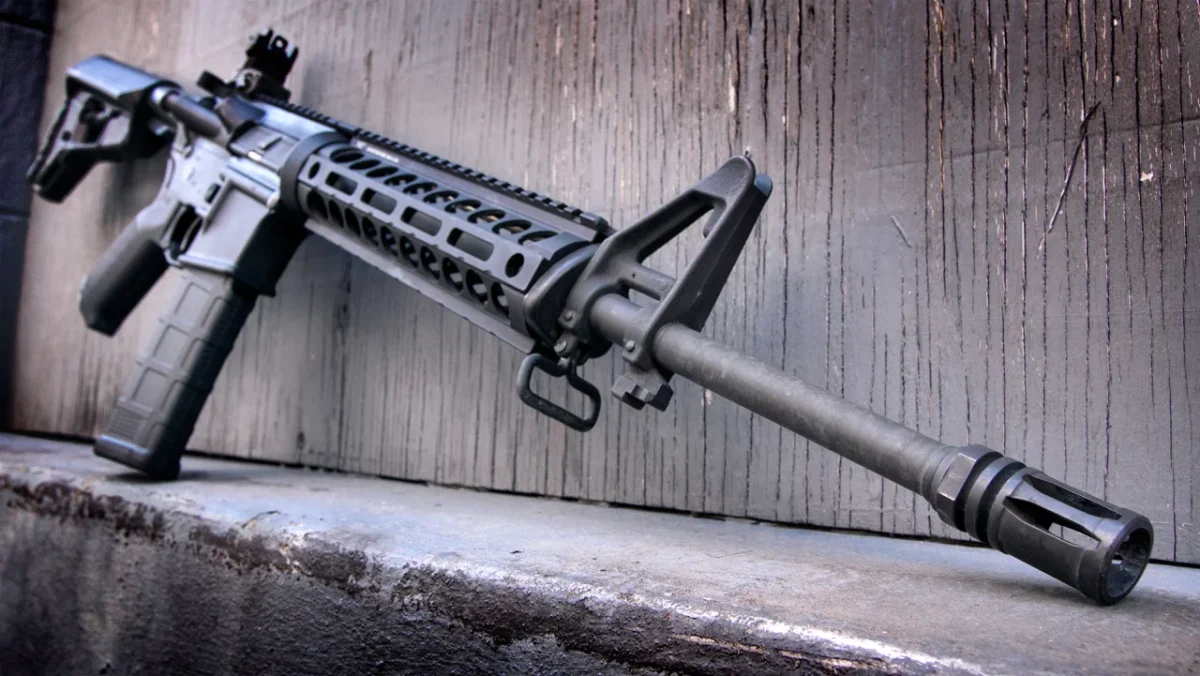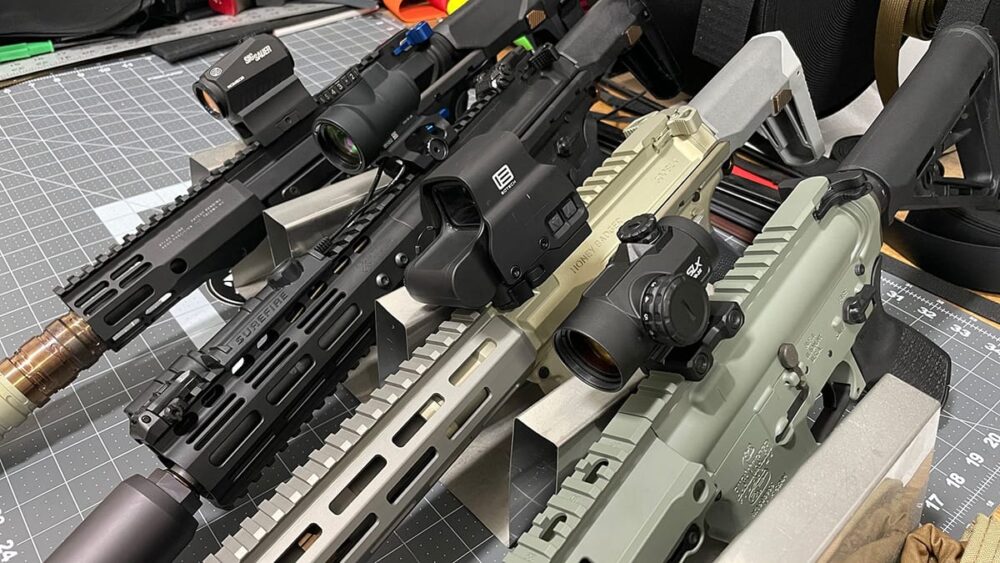
Welcome to the future of firearm maintenance! The AR-15 is one of the most common rifles in the world, and it’s absolutely essential to keep it clean and well-maintained. In this guide, we’ll show you everything you need to know about disassembling and cleaning your AR-15 in 2024. From field stripping to detail stripping, we’ll make sure you have all the info needed to keep your rifle in tip-top shape! So, let’s get started!
Tools and Materials Needed
No matter how frequently you use your AR-15, it’s important to make sure it is properly dismantled and cleaned to ensure reliable operation and extend the life of the firearm. Before you start, make sure to have all the necessary tools and supplies on hand so that the job can be completed easily and efficiently; this includes things like a cleaning rod, lubricant, bore solvent, cotton patches or cleaning rags, and a few other items. Here’s what you’ll need for basic routine maintenance of your AR-15:
- A cleaning rod — either solid or segmented — with a jag or bore brush attachment
- Cleaning solvent such as CLP (cleaner lubricant preservative)
- Lubricant such as CLP or another firearms-grade oil
- Cotton patches or cleaning rags
- A Phillips head screwdriver
- A capture pin punch to remove takedown pins (optional)
- A bore snake (optional) for faster cleaning/drying cycles
Step One: Remove the Upper Receiver

The first step in disassembling and cleaning your AR-15 is to remove the upper receiver from the lower receiver. This can be done easily by pushing out two pins on either side of the AR-15, known as the rear takedown pin and front pivot pin. Once these pins are removed, you can carefully pull apart the upper and lower receivers. It is important to note that some rifles may have a locking plate installed for safety purposes, so make sure to check for this before attempting to remove any pins.
Step Two: Remove the Barrel
Now that the upper receiver has been disassembled, it is time to move on to the barrel. While the exact tools needed will vary depending on your specific rifle model, you will need a specialized wrench or armorer’s tool to help you with this step. Start by disconnecting the gas tube from the block located on top of the barrel assembly.
Once you have done this, use an appropriate wrench or tool to remove the barrel nut that attaches it to the UNE upper receiver. To ensure a proper fit for reassembly, note which direction it was turned and loosen one-half to three-quarter revolutions per turn in order to undo everything. It should come off easily once all of the parts are loosened properly. If you think your barrel is damaged in any way, make sure to get a new one on https://midstatefirearms.com/product-category/pvd-tin-parts/tin-ar15-parts/.
Step Three: Remove the Bolt Carrier Group

The bolt carrier group contains the bolt, the firing pin, and other small parts that all assist in ensuring a properly functioning AR-15. It also serves as the main component when disassembling and cleaning your rifle as it is made up of multiple parts that all need separate attention.
Before proceeding, check to make sure the rifle chamber is empty by ejecting any rounds, and then move on to this step with caution. Be careful not to lose any tiny pins or springs while you proceed.
To remove, start by pivoting the charging handle forward to ensure its latch is released. Once done, pull back on the charging handle slightly and catch it on one side with your finger while rotating its retainer pin sideways into its corresponding groove with your other hand. Then slide out the charging handle towards itself before releasing it completely from its track.
Next, roll back the bolt catch spring and push off the bottom part of the bolt catch assembly so that it no longer holds onto anything else but can still pivot freely when moved around a bit afterwards. Then you can now move on and take out another small pin located at either side of the AR-15 lower receiver which may be difficult for some depending on their size or strength – Use pliers if needed.
Once loose, slide out both ends of that particular pin before pulling off complete access to your BCG (Bolt Carrier Group). Now give it a soft slap backwards with two fingers for easier removal separation; Not too hard though!
Step Four: Remove the Lower Receiver
The lower receiver is the main body of your AR-15, so it’s important to understand how it works and how to safely remove it. To begin, find the mag release button located near the trigger guard. Press down on the button and push forward on your magazine until it drops out of the receiver. Then, remove any remaining ammo from your weapon.
Next, locate the takedown pin located above the magazine release button and push it in slightly with a punch or small screwdriver. Pull back on this pin until you can pull it out completely. At this point, you should be able to separate the lower receiver from the upper receiver.
Carefully tilt up and slide out your bolt carrier assembly (BCG). Make sure that all moving parts are removed in order to avoid damage when cleaning or replacing parts. Set aside all BCG components for now – they won’t need to be disassembled at this time.
Step Five: Remove the Stock

Depending on which style stock your model has, there could be pins or small screws which must be loosened in order for you to take off the stock. If you have an A2-style stock, then this will require some patience and effort, as there are several small Phillips screws which need to be removed first before the tube can be taken out of its place. Removing these parts needs to be done slowly and carefully so that nothing gets broken during the process. Once everything is loose, then you can lift off the stock from its place on top of the receiver.
Step Six: Remove the Trigger
Use a punch to push down on one of the receiver pins and partially remove it from its hole in the receiver. The other pin should then come out easily with your fingers and both can be fully removed for trigger assembly removal. Once these pins have been taken out, slowly pull back on the rear of the trigger guard and retract it away from its locking position in order to completely remove it as well as all associated components. Once everything is loose, take special care to not mix up any of these small parts when detaching them from each other or placing them into containers while cleaning them separately after they are taken out of their location inside the receiver housing unit.
Conclusion
It is always a good idea to check with a qualified professional or experienced firearms enthusiast when handling firearms. Though this guide provides basic instruction on how to properly disassemble and clean an AR-15, it should not be taken as a comprehensive manual on gun maintenance or repair. Before performing any disassembly or cleaning, make sure the weapon is unloaded, clear the chamber of all ammunition, and ensure that no live rounds are present in the magazine or chamber.


